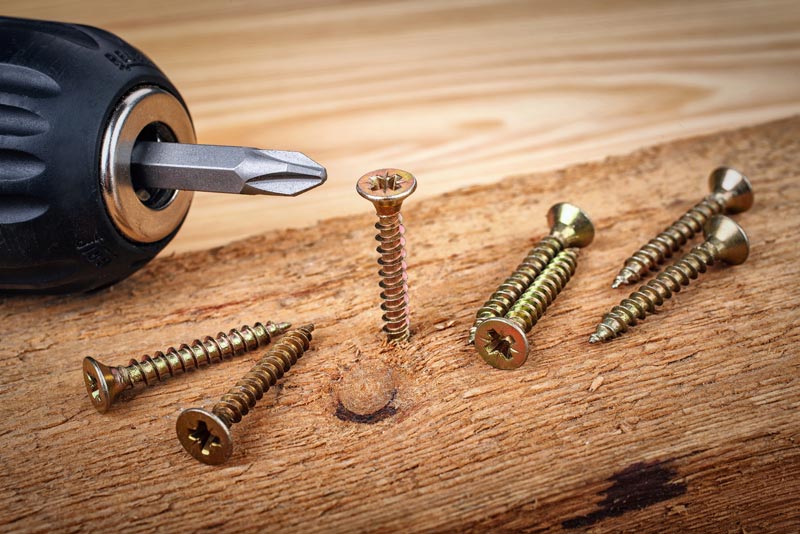
With the DIY home improvement market bumping its head against the $14 billion mark, homeowners are taking on more complex projects every day.
Beyond just building a birdhouse, bookshelves, or a couple of box planters, homeowners are now feeling empowered to do major repairs on their houses. As you work with more materials, it’s important to know how drilling screws changes depending on the material.
The construction industry is well aware that when you are working with wood, bricks, drywall, or concrete, how you fasten two pieces of material together will vary. Materials, like wood, also have a variety of densities that you must consider when you are drilling into it. A softer material will be easy to drill into, but your screw could end up falling out if you are not careful.
Whether you are a homeowner or new to the construction field, if you want to make sure you are drilling screws the right way the first time, follow these 4 tips for fastening materials together.
1. Know Your Clutch
Drills have a torque control knob, usually as a collar connected to the chuck, where the drill bit is mounted. Controlling the torque controls the amount of twisting power your drill will produce. Over torquing could break your screw and under torquing could cause you to strip out the head, where your driving bit meets the screw.
Overdriving will also cause you to drive them too deeply, while under driving them will leave the head sticking above your material.
Every material and every screw will be a little different, so use practice material before you work on the finished project.
2. Know Your Bits
Did you know that you need different bits for different materials?
You might have had some clue, but even if you are drilling into various density woods, you will need different bits. Metal, drywall, and stone will all require their own different bits.
3. Do You Need Anchors?
How well do you need these two pieces to fit together? Will they be bearing weight or are you just drilling a screw in for a light item? Are you drilling into drywall or into a wooden stud behind your wall?
Drilling a screw into drywall won’t be adequate if it needs to hold something up. You will need an anchor. This anchor will be needed for just about any weight bearing screw.
4. Drill Pilot Holes
You will need to drill a pilot hole regardless if you drilling screws permanently or making a space for a metal screw to be fastened with a nut at the other end. The hole for your fastened screw should be snug.
The hole for a drywall screw or wood screw should be a little smaller than the screw to make sure the connection is tight.
5. Ditch the Drill?
Another option is if you’re working on a electrical project, chances are good you can ditch the drill and go with self drilling screws. They’re a great way to finish a project quicker since they drill, tap and fasten without the need of a drill.
Other common sectors that use self drilling screws include roofing, light carpentry and major machinery functions.
Drilling Screws Takes Practice
It might seem simple, but once you start building your project, you will notice that you might want your screws to sit flush with the surface.
If you have not taken the time to drill a pilot hole, countersink the hole, and you are not using the right bit, you could end up with something that looks unattractive. You should be as thorough when planning for your screws as you are about every other element of your project.
If you are interested in more information on how to fasten materials together, contact us for tips
Automated Fastening Systems has been in the business of high-quality tools and fasteners since 1982. We stock a wide variety of specialty fasteners, anchors, power tools and accessories for commercial as well as residential construction. Our years of experience and our highly trained sales staff help us to determine the proper tool or fastener for your job.


